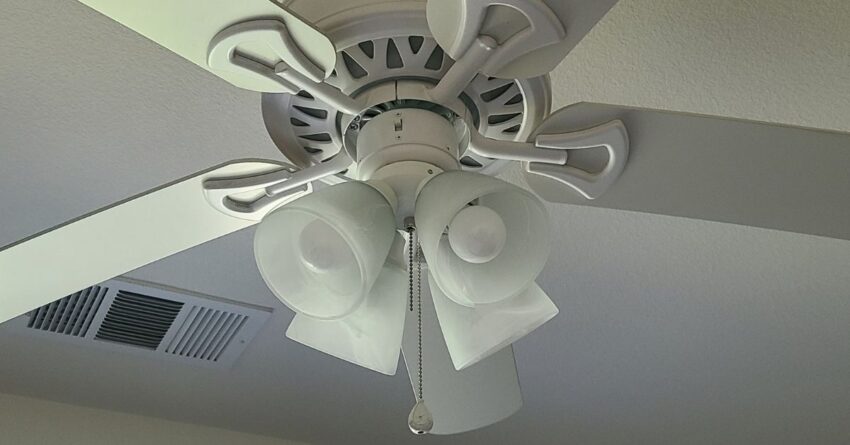
Ceiling Fan Light Kit Installation – A Decade in the Making
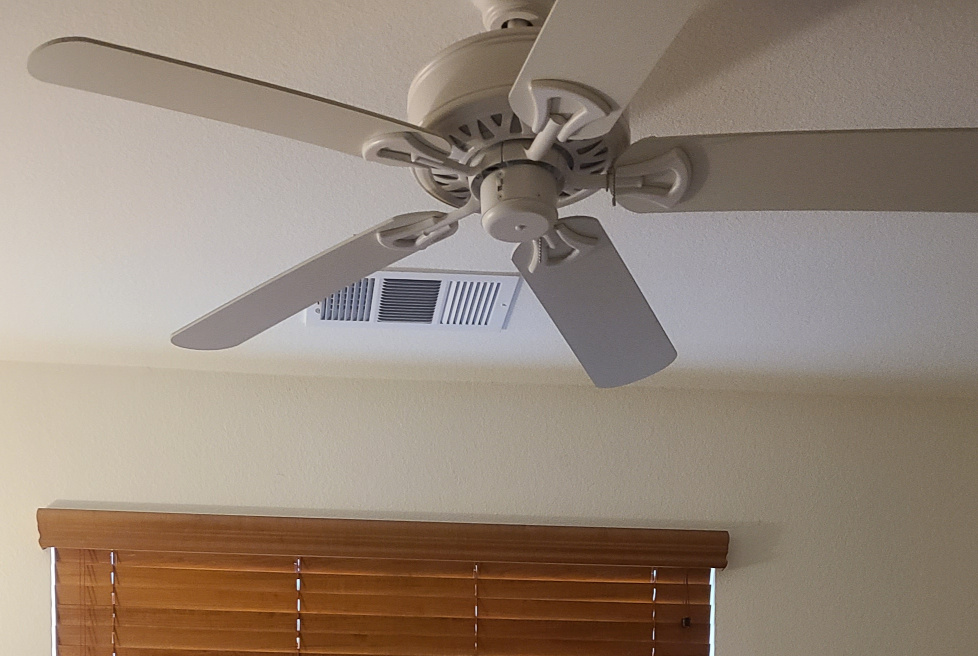
Ten years ago, when we purchased our house, we installed ceiling fans in every room. To save some money, we only installed a ceiling fan light kit on three of the six fans we installed. We recently decided it was time to install ceiling fan light kits in the other three rooms.
Purchase The Right Ceiling Fan Light Kit
Since we installed the original fans ourselves, we knew exactly what fans we had and what light kits to buy. Make sure you get a light kit that you know will fit the fan you’re installing it on. If you get a light kit that matches your fan, your installation will likely be super simple.
Remove The Light Housing Cap
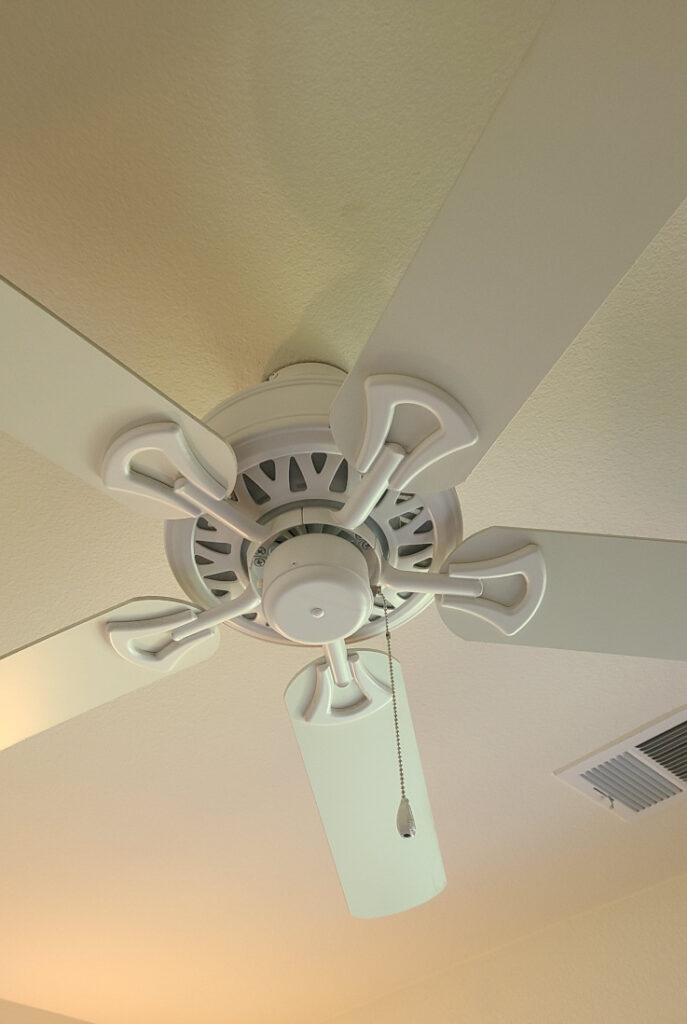
If you have a Harbor Breeze ceiling fan without a ceiling fan light kit installed, you will likely have a cap on the bottom with a plug in the middle. There are three screws on the sides of the fan housing that hold this cap in place. You can remove these three screws to remove the housing cap.
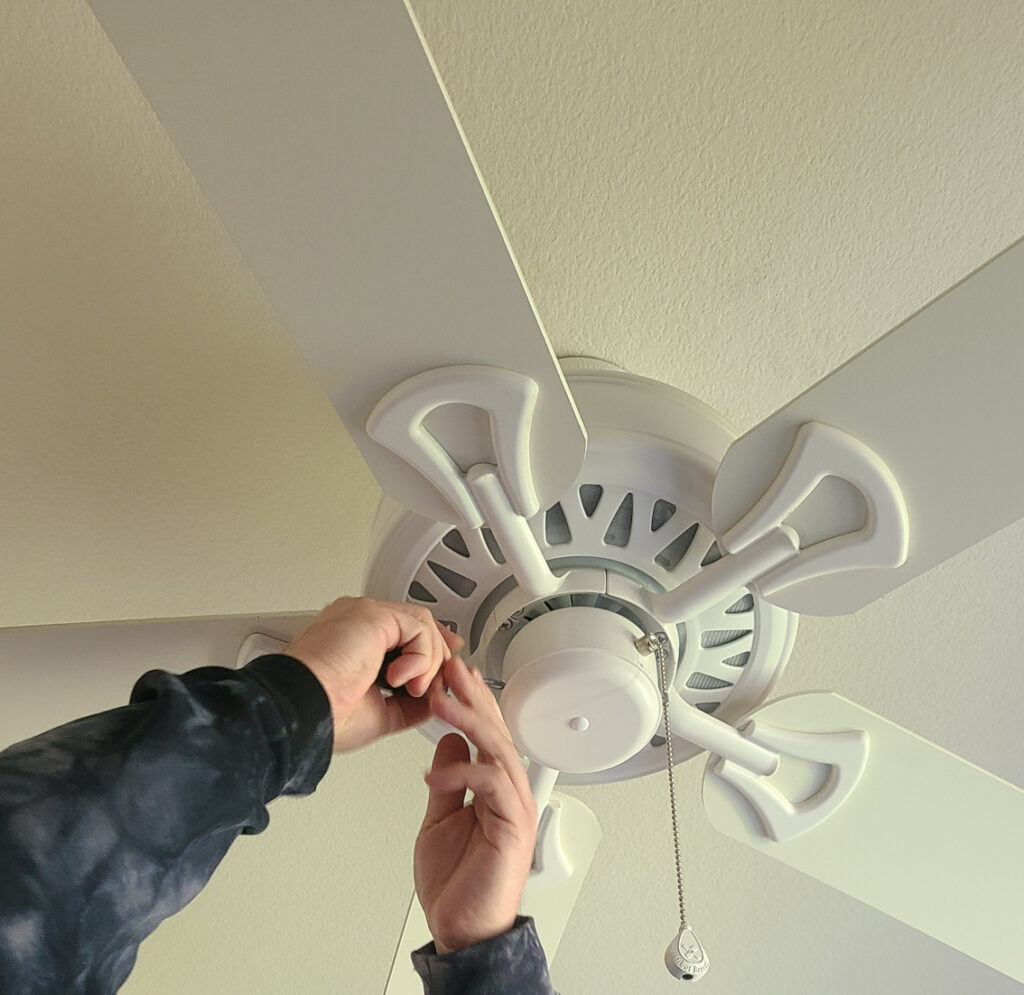
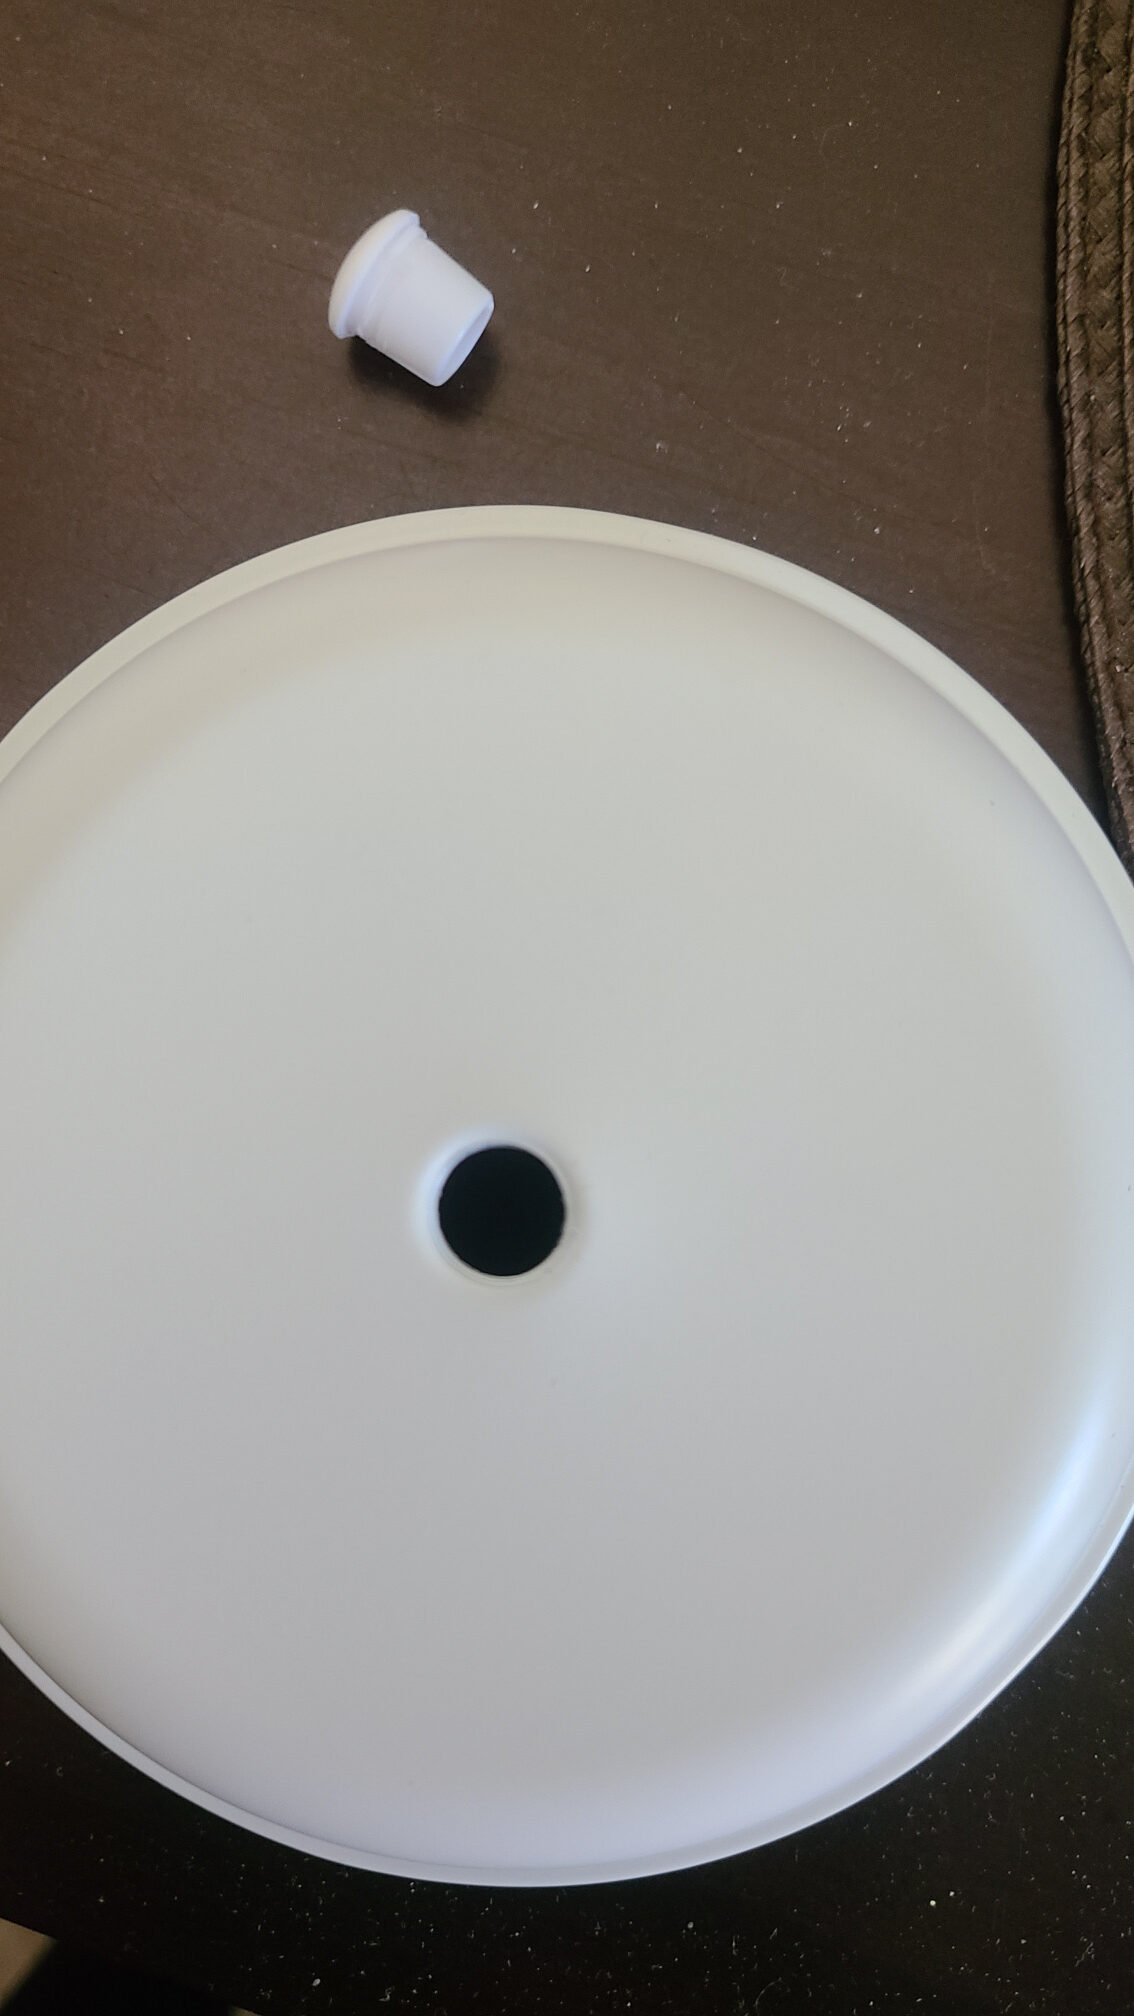
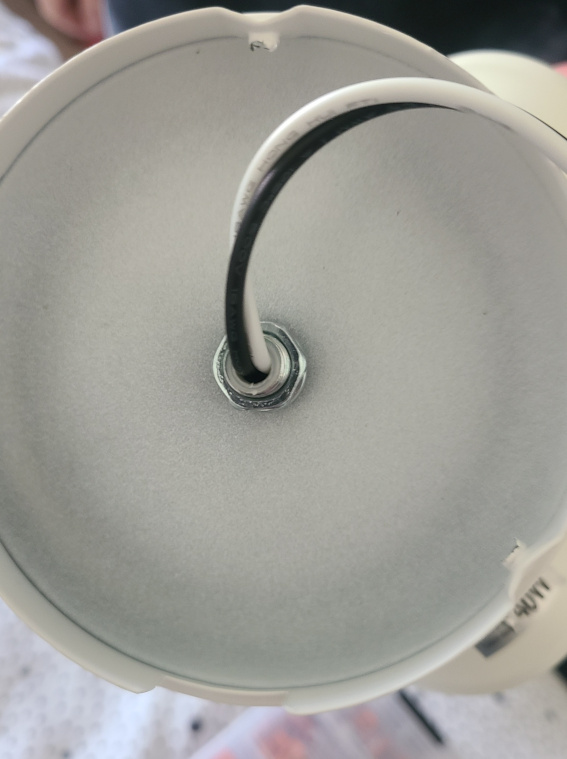
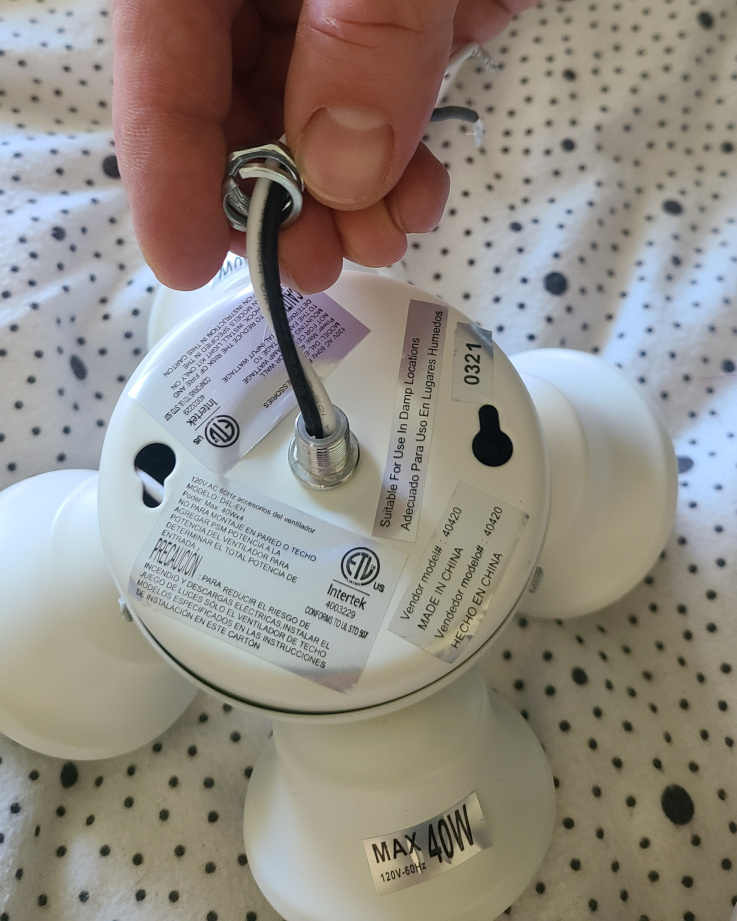
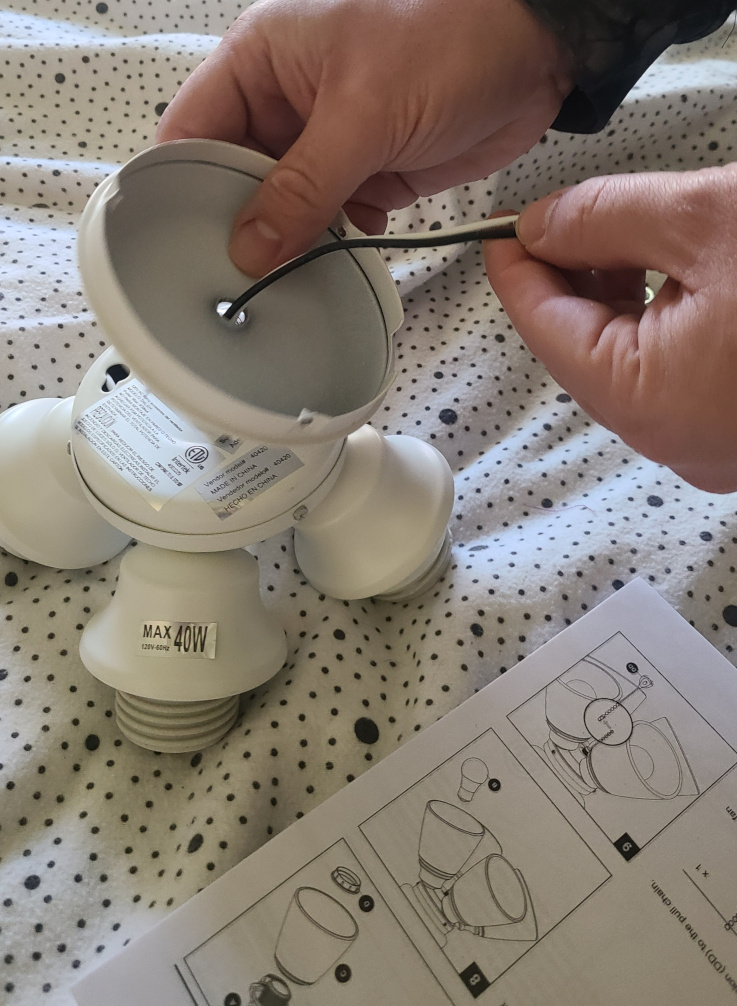
Once the cap is removed, remove the center plug. This plug will reveal the hole that the light kit will mount to. Remove the washer and lock nut from the threaded bolt on the ceiling fan light kit, and then thread the housing cap onto the light kit. Place the washer and lock nut back onto the bolt, and tighten.
Prepare the Ceiling Fan Light Kit Wires
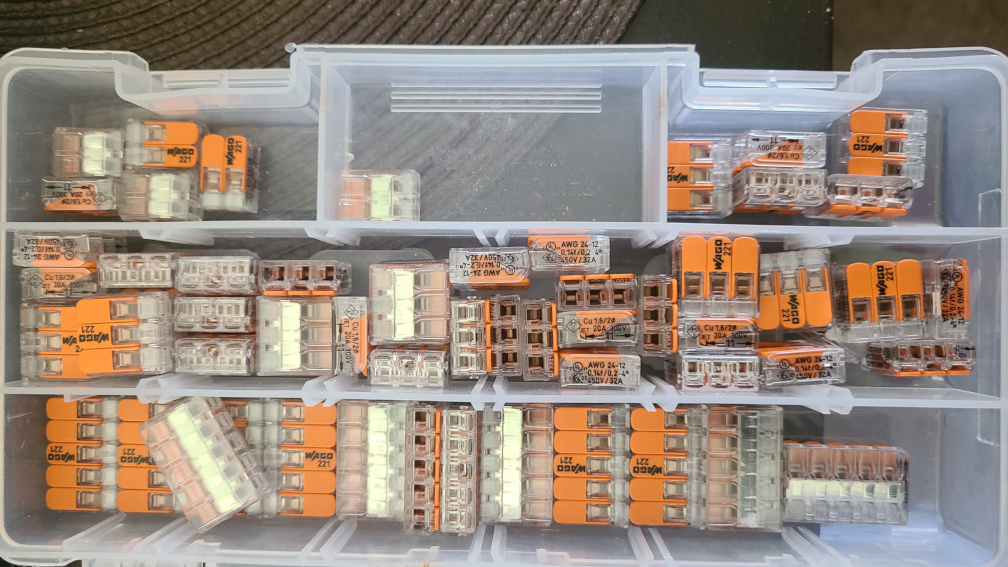
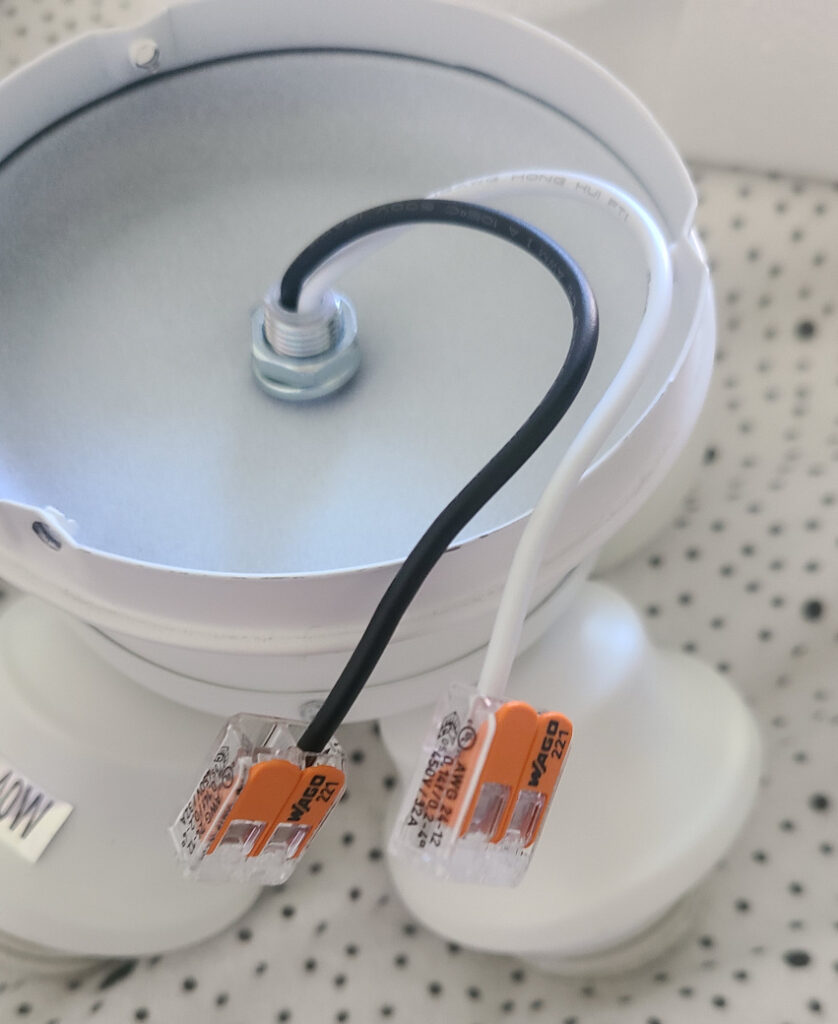
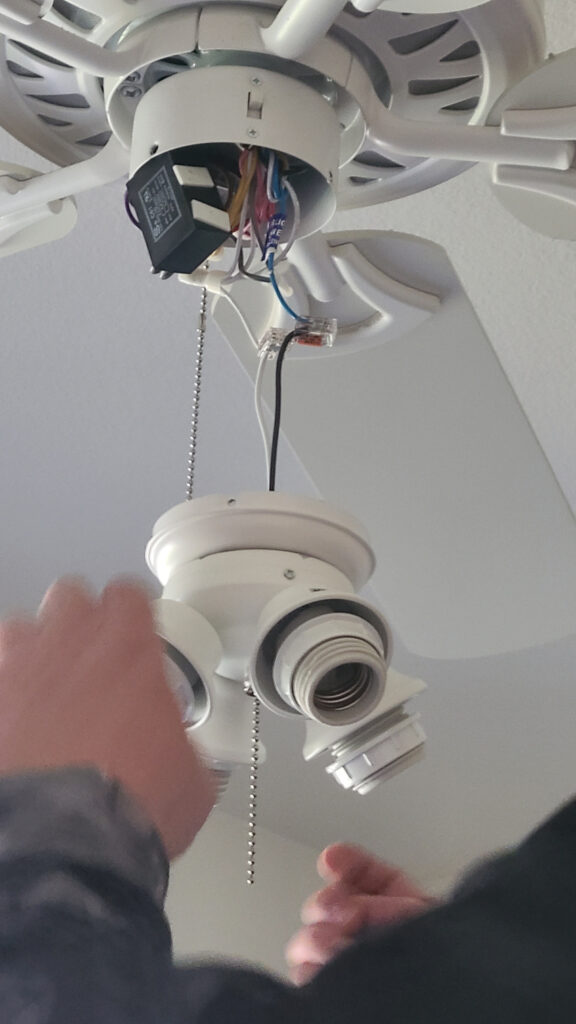
The ceiling fan light kit will have two wires coming out of the mounting bolt, one black and one white. These wires will obviously power the light kit. I use WAGO 221 lever nuts for most of our electrical projects. Place a two-port WAGO on each wire coming from the light kit, so that it’s ready to connect to the wires inside the fan when you’re putting it up on the ceiling.
There should be two wires inside the ceiling fan that these wires will connect to. The instructions for our light kit say to connect black to black and white to white, but our fan actually ended up having a blue wire for power rather than black. We connected black to blue, and white to white. Connect the appropriate wires to the other side of each WAGO accordingly.
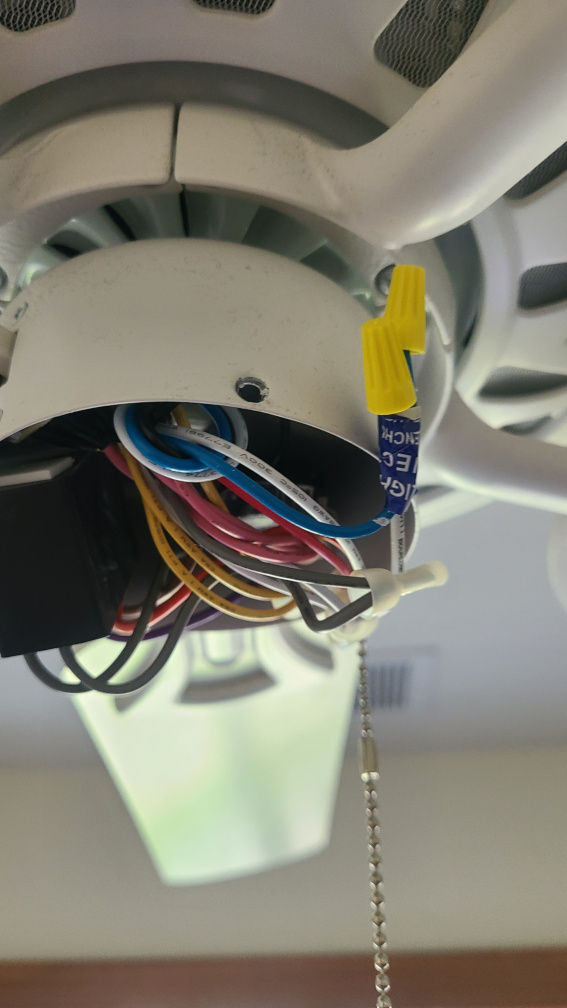
Re-Mount the Ceiling Fan Light Kit to the Fan Housing
Once the wires are connected, the last step is to tuck all the wires inside the housing and reattach the cap (which now also has the light kit threaded onto it). Our particular cap has a notch in it. Take a look inside the housing. Line that notch up with the notch on the cap. Slide the cap into place, and secure it with the three screws we removed in the first step.
Install Light Shrouds, Bulbs, and Pull Chain
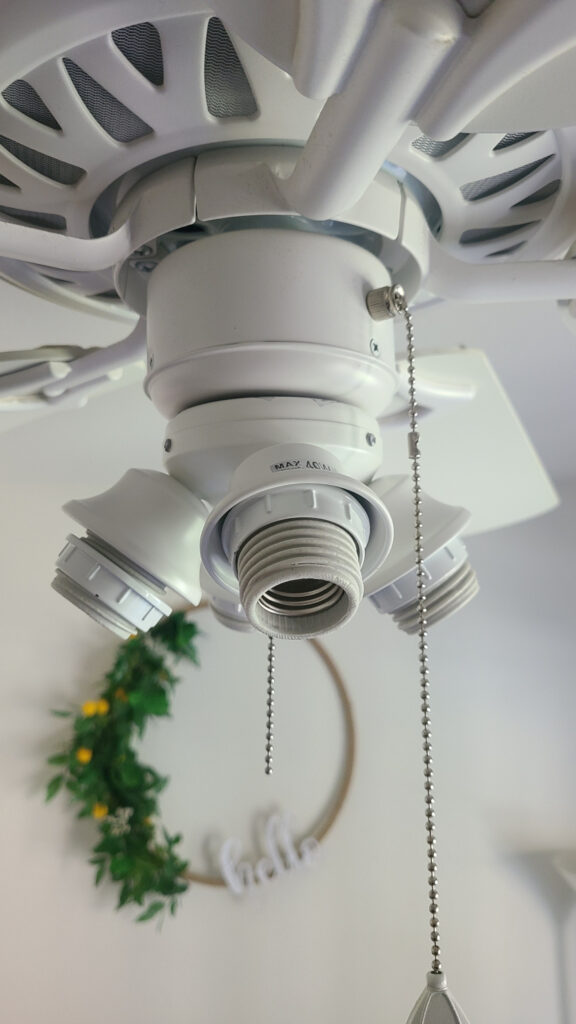
The light kit also may come with a single shroud or a shroud for each bulb. Our kit has four shrouds, one for each bulb. Pay attention to the direction the lock ring on each light is facing. Remove the lock ring, place the shroud over the light socket, and reinstall the lock ring to secure it in place. You may need to twist the shroud at the same time as the light ring, in order to make sure it’s secured entirely.
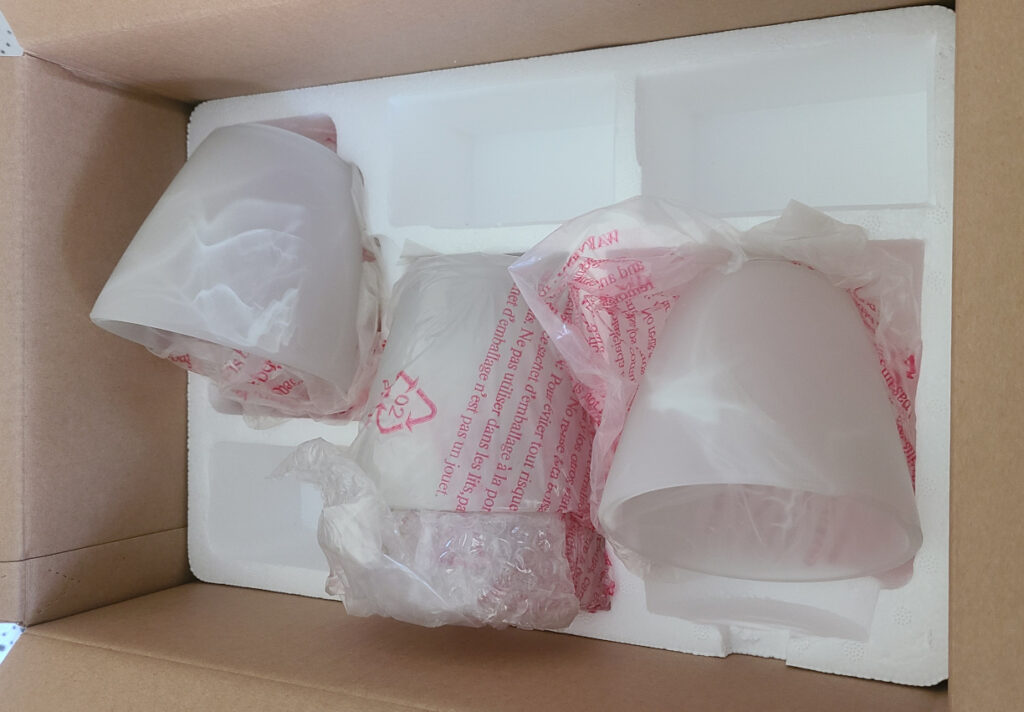
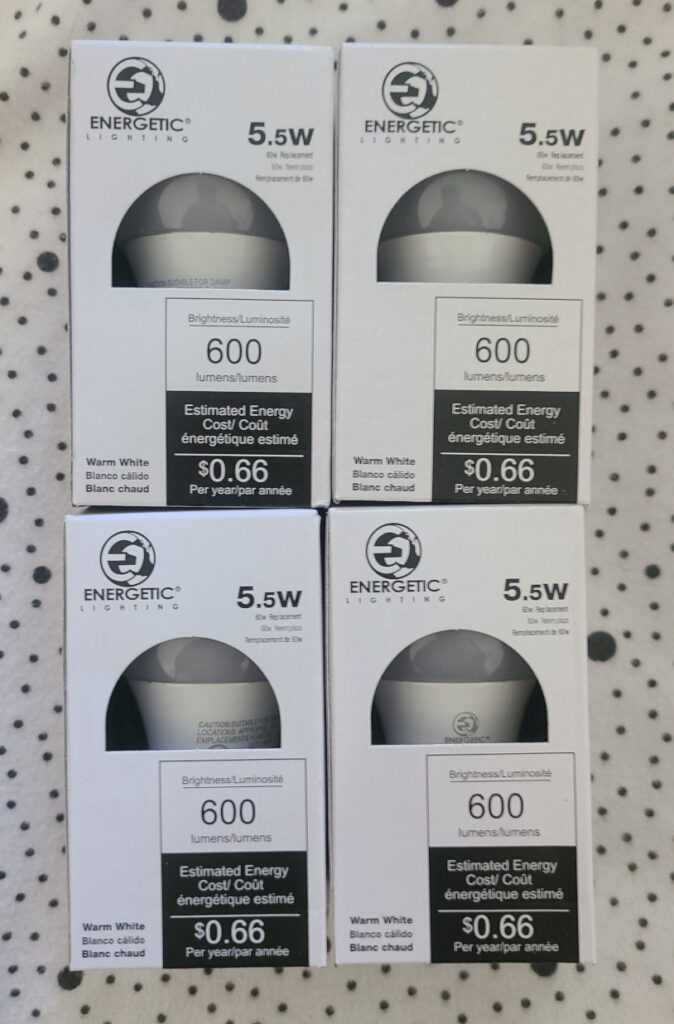
Once the light shrouds are all installed, install your bulbs. Most light kits will come with bulbs – ours came with four LED bulbs. They are unfortunately cheap LED bulbs, though, and we’ll probably replace them at some point. There is a noticeable delay when turning them on after they’ve been off for a while. It doesn’t bother Lora, but it annoys the hell out of me.
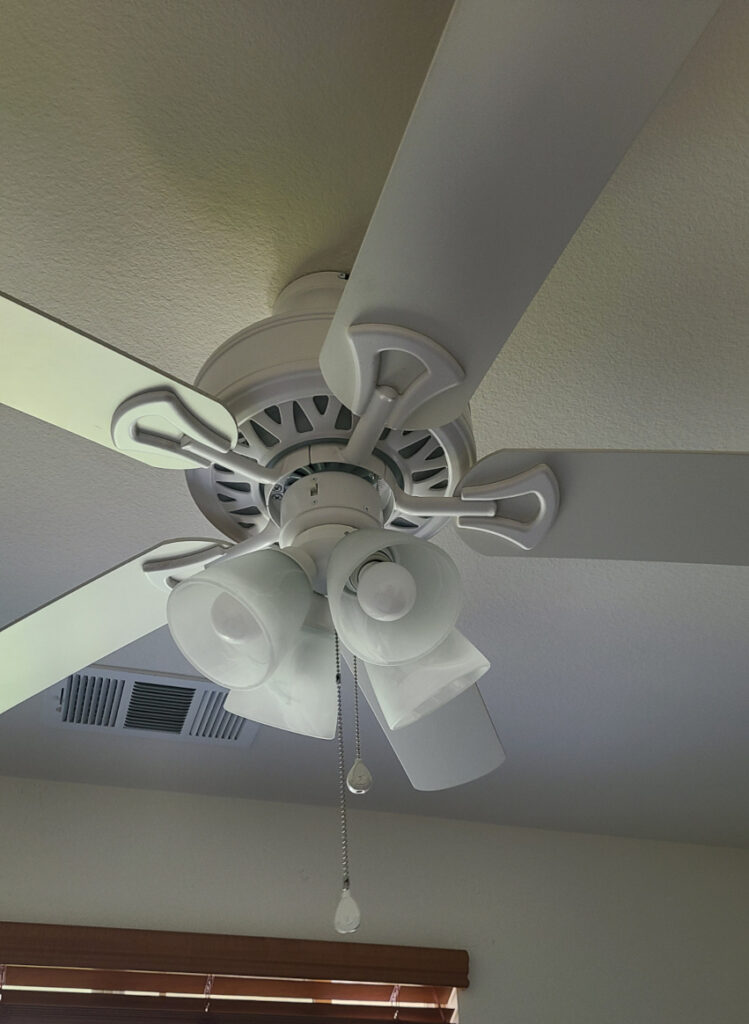
Your kit also probably came with a pull chain extension. Ours has a nice medallion on the bottom, to allow us to distinguish between the pull chain for the light kit vs the pull chain for the fan itself.
See more of our Home & Tech Project posts and Tech Product/Accessory reviews.
See all Reviews in our Product Review Portal.
Admire Your Work
The last thing to do is to flip the switch and test everything out. If you flip the switch and nothing happens, try to remain calm. Use the pull chain to see if the fan (or light kit) comes alive before freaking out and worrying that the kit is broken, or that you’ve done something wrong.
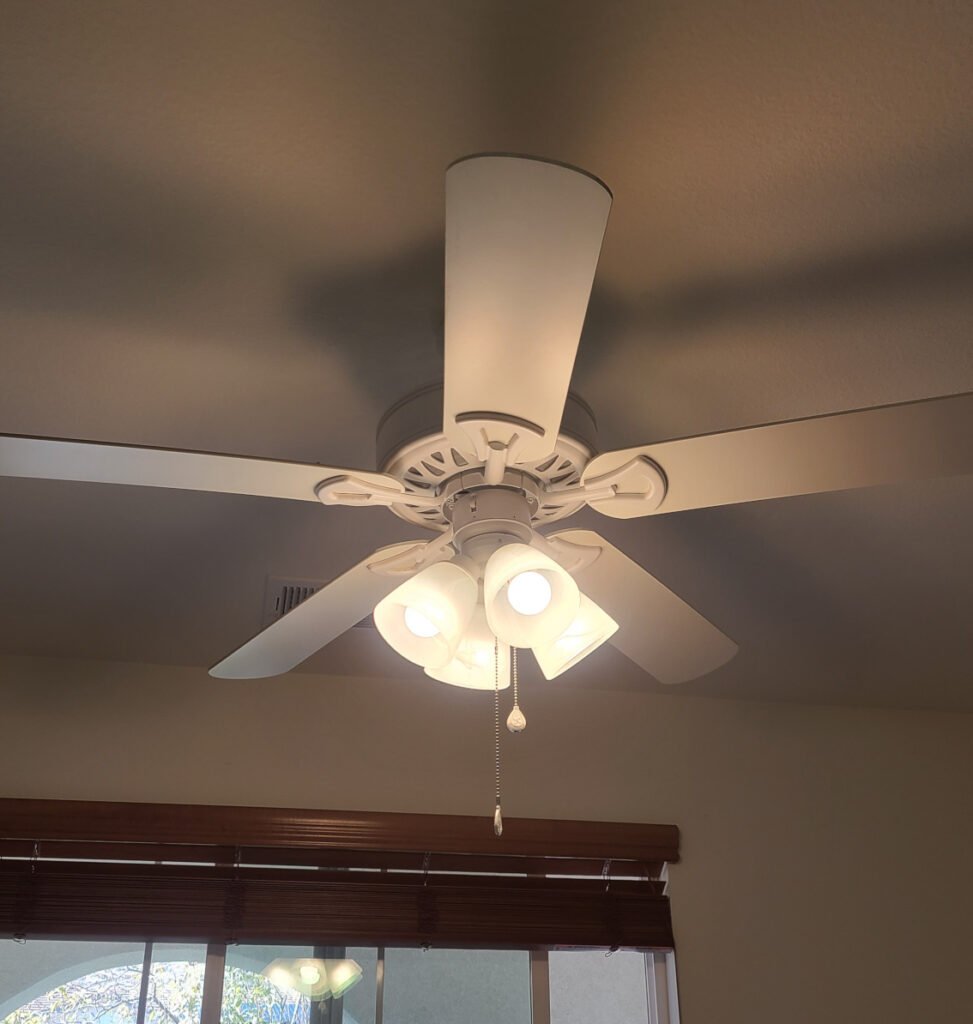
If you’ve already got a ceiling fan in place, this is a very simple install that any homeowner should be able to tackle themselves. It took us approximately 10-15 minutes per room.

