The Reason
The main reason for performing a water heater drain and flush is maintenance related. Most manufacturers recommend you perform this simple maintenance task yearly, or at least every other year.
For us, this is the first time we had performed this procedure in the nine years we’ve owned our home. Recently, we had noticed the water heater making popping and knocking noises while heating the water. Research indicated this was likely due to sediment build-up inside the tank.
Water Heater Drain and Flush: Drain
Performing a water heater drain and flush is a simple procedure, with several distinct steps:
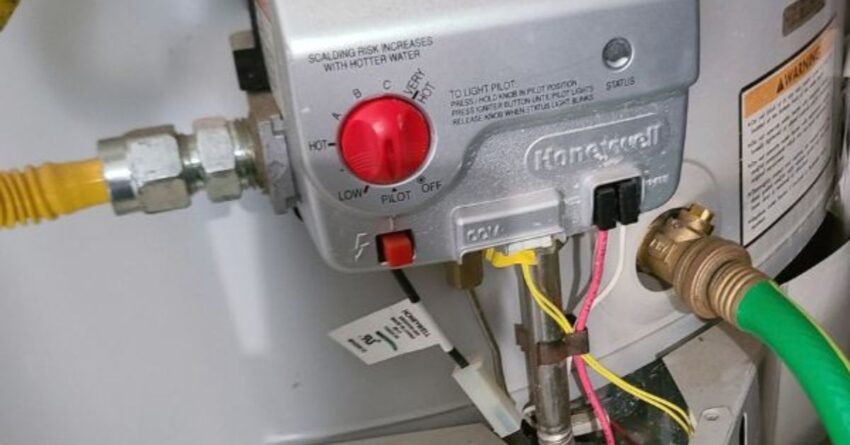
- Turn off the burner.
- This step is critical. If you fail to do this, the water heater will ignite the burner even after the tank is empty. If the burner is heating an empty tank, it could melt the metal of the tank itself and cause damage to and perhaps even destroy the unit.
- Turn off the cold water supply to the water heater.
- In order to drain the tank completely, we need to make sure we’re not allowing additional cold water into the tank. This should be a valve on the cold water supply line, above the tank. Turn it perpendicular to the supply line.
- Connect a garden hose to the drain valve.
- This is self explanatory – the water from the tank will drain through this hose.
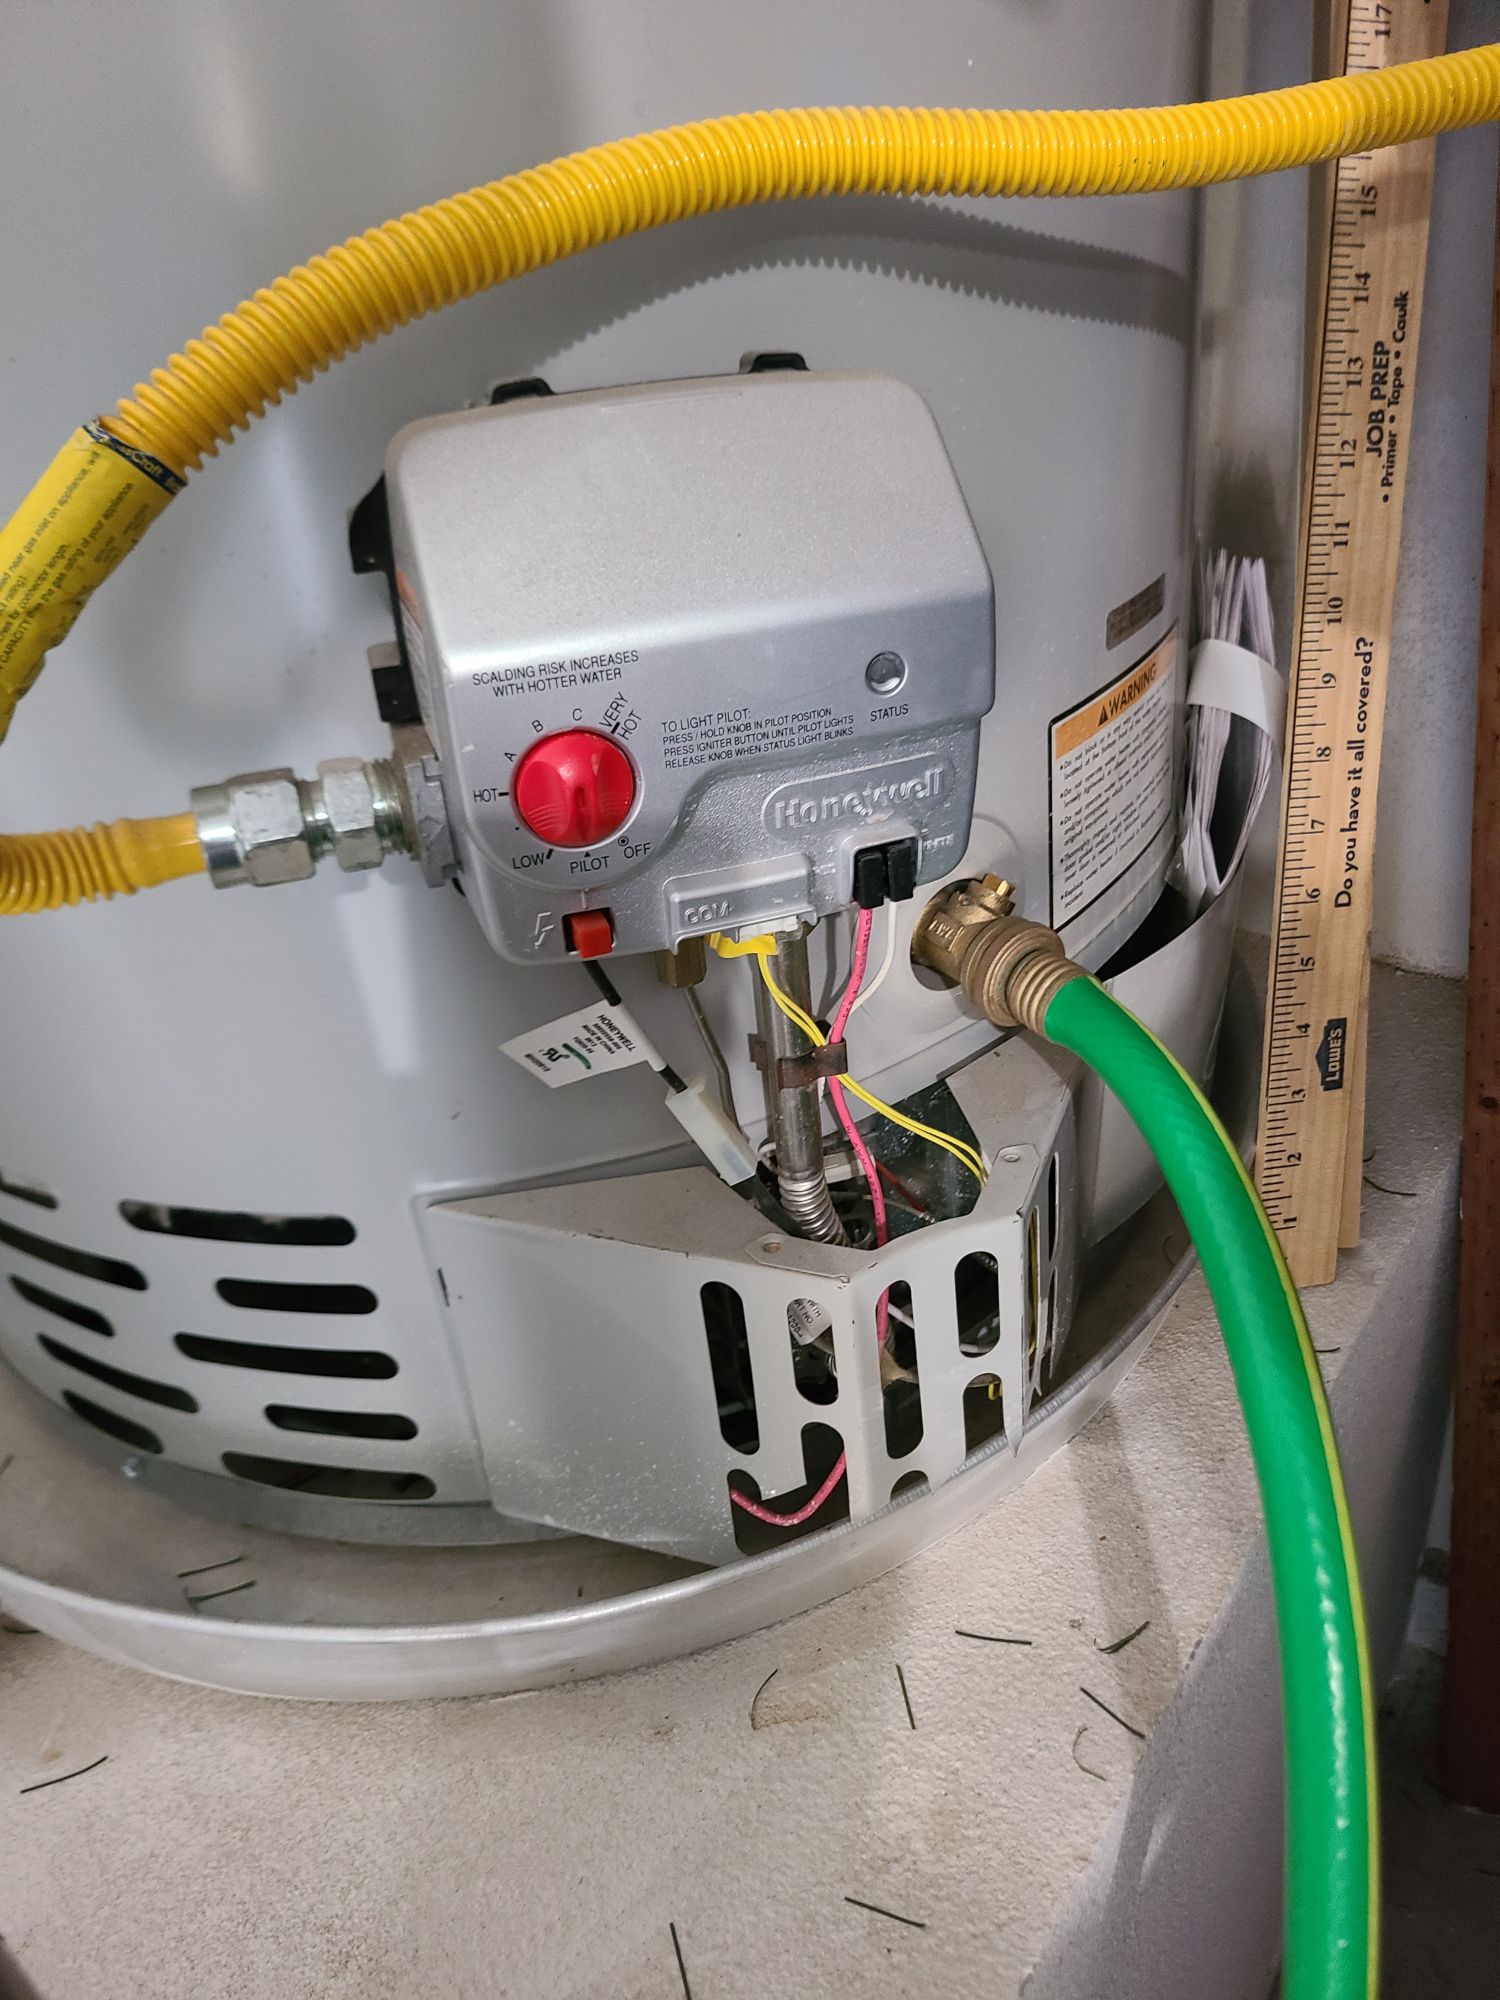
- This is self explanatory – the water from the tank will drain through this hose.
- Extend the hose to a floor drain, or, preferably, outside.
- Obviously, you need somewhere to drain the water. Ideally, this would be into your driveway and then to the street.
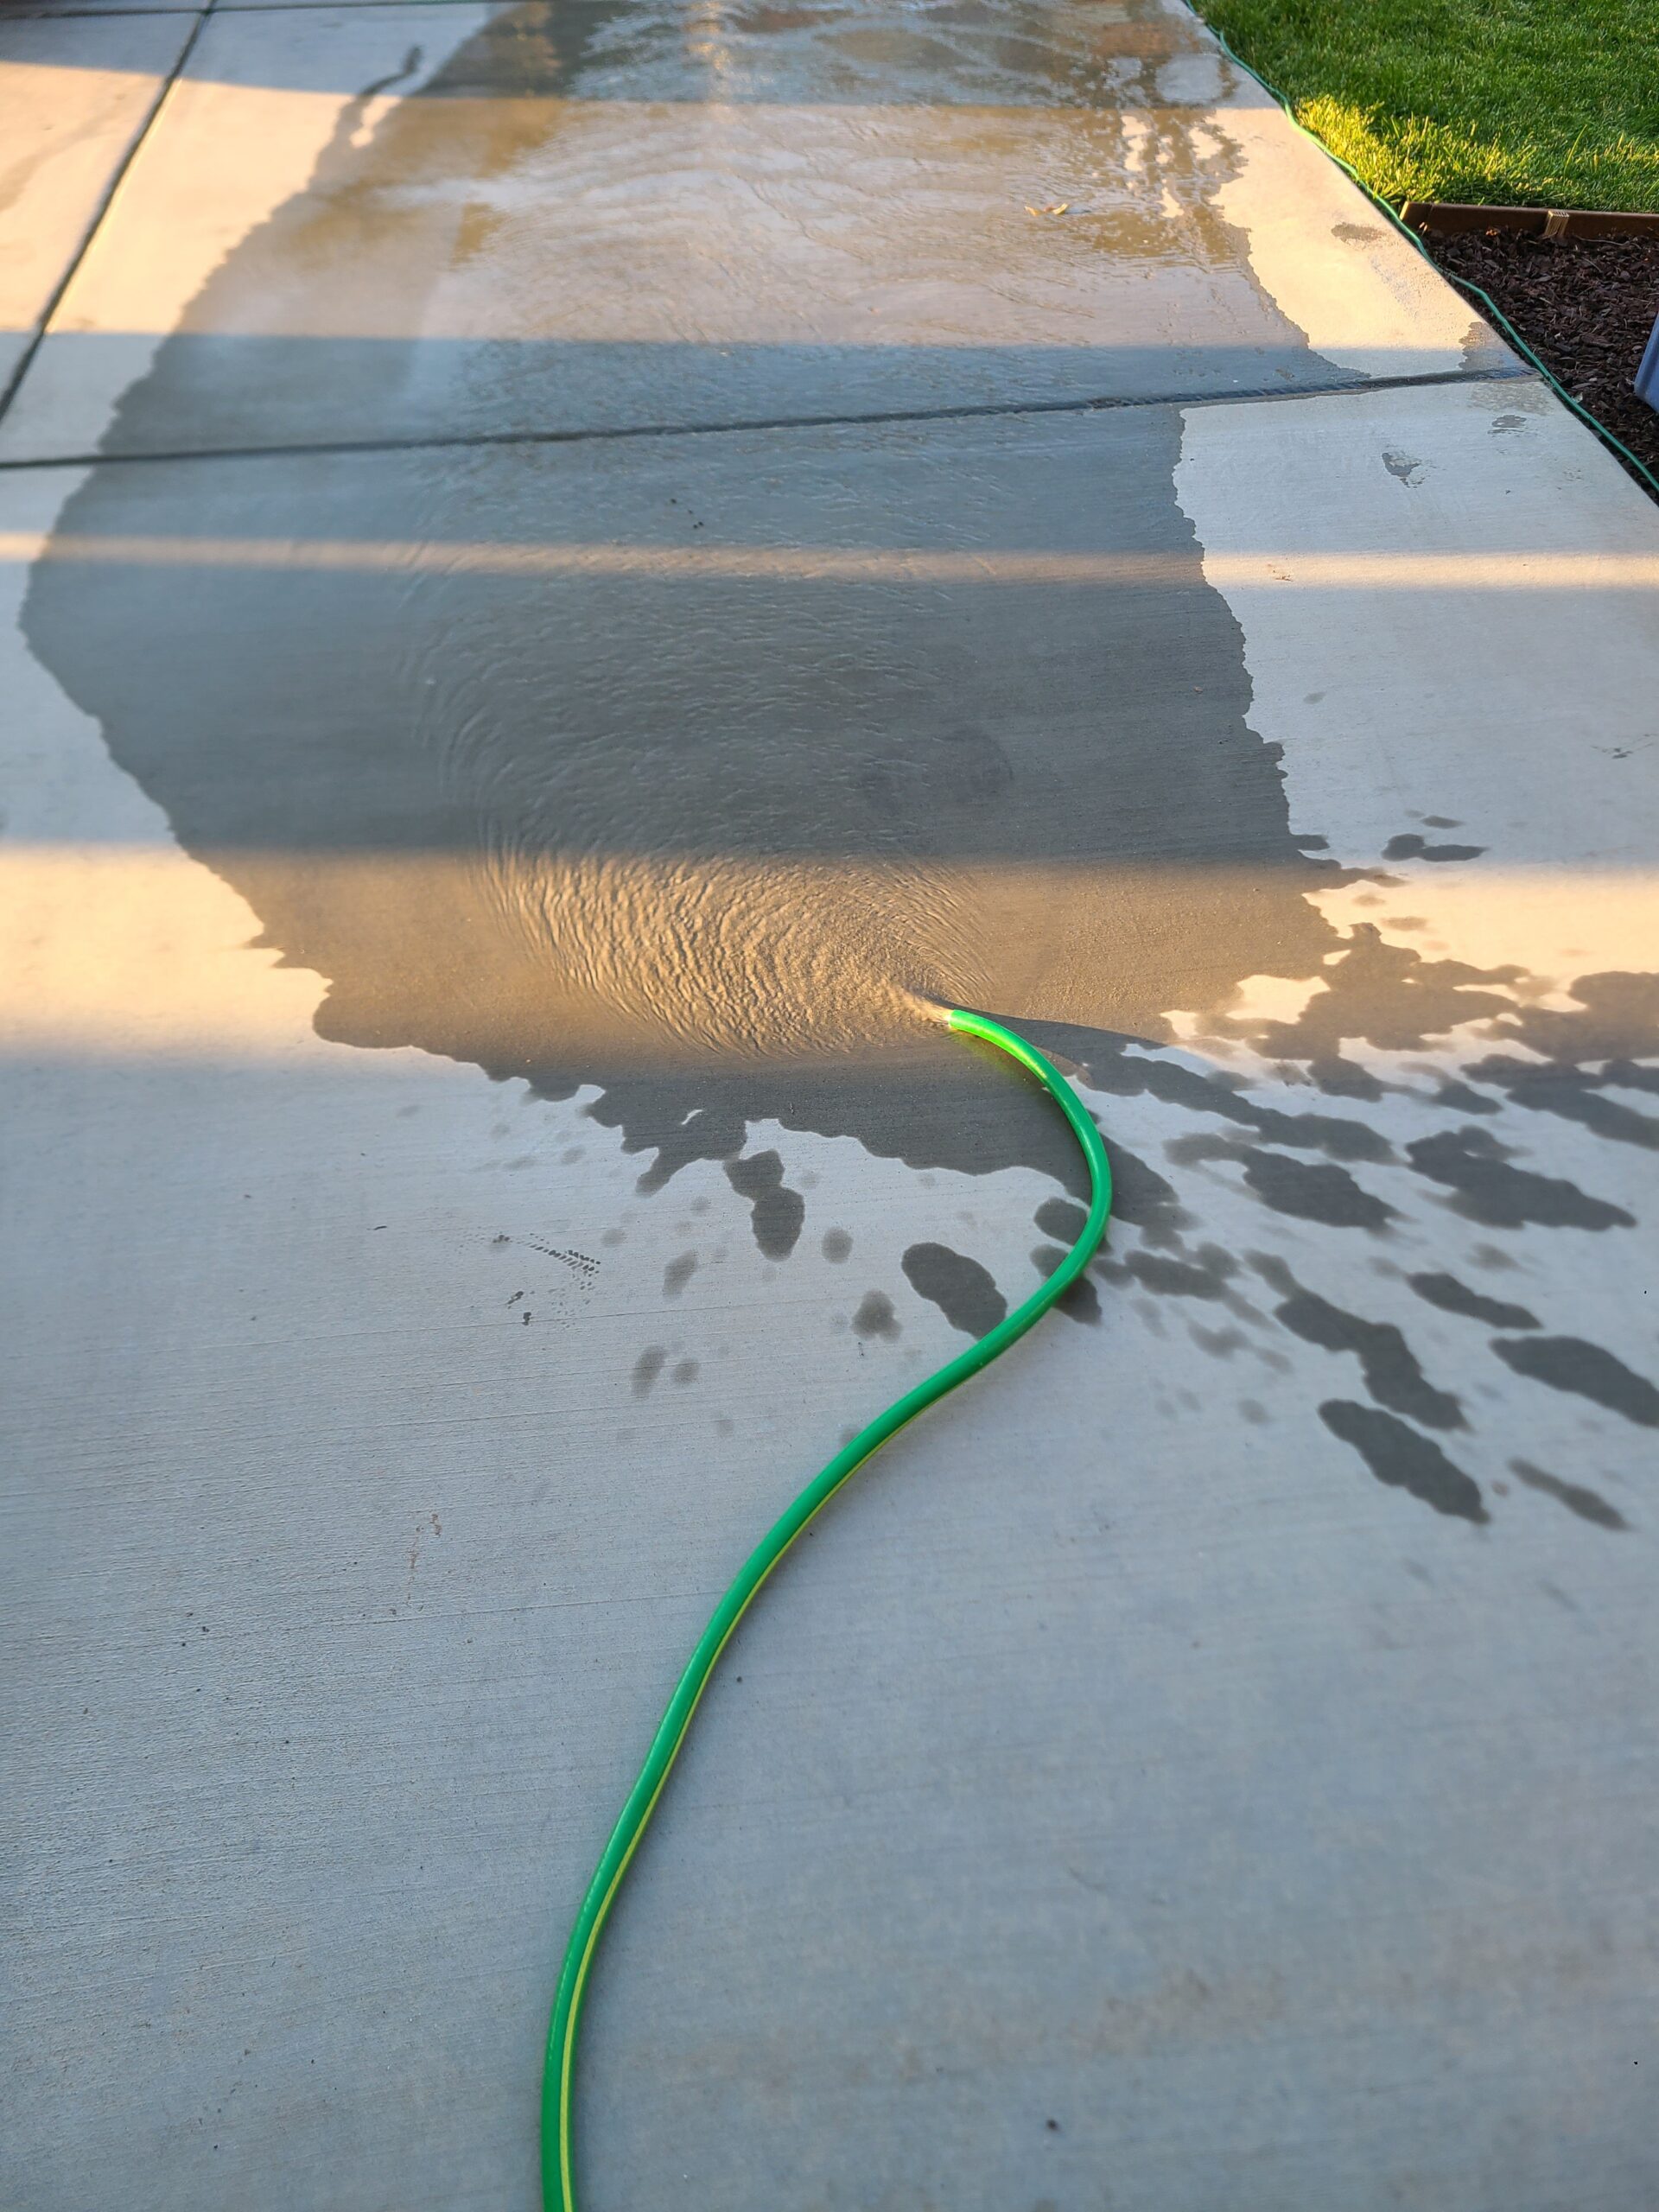
- Try to make the hose slope down towards the ground for the entire length – to accomplish this, we placed several boxes and buckets along the way of decreasing height.
- Obviously, you need somewhere to drain the water. Ideally, this would be into your driveway and then to the street.
- Open a hot water faucet inside the house.
- This is necessary to allow air into the tank, which will push the water out through the drain valve. Leave this faucet open throughout the entire process.
- Open the drain valve.
- Our drain valve required a quarter turn with a slotted screwdriver. Yours might be similar, or may be some other sort of drain valve. Refer to your owners manual for instructions on how to open the drain valve.
- Open the pressure relief valve (this may or may not be necessary).
- If water is not draining through the hose at this point, you may need to open your pressure relief valve to allow more air into the tank. In the image below, you can also see the cold water supply valve, closed (to prevent the tank from filling).
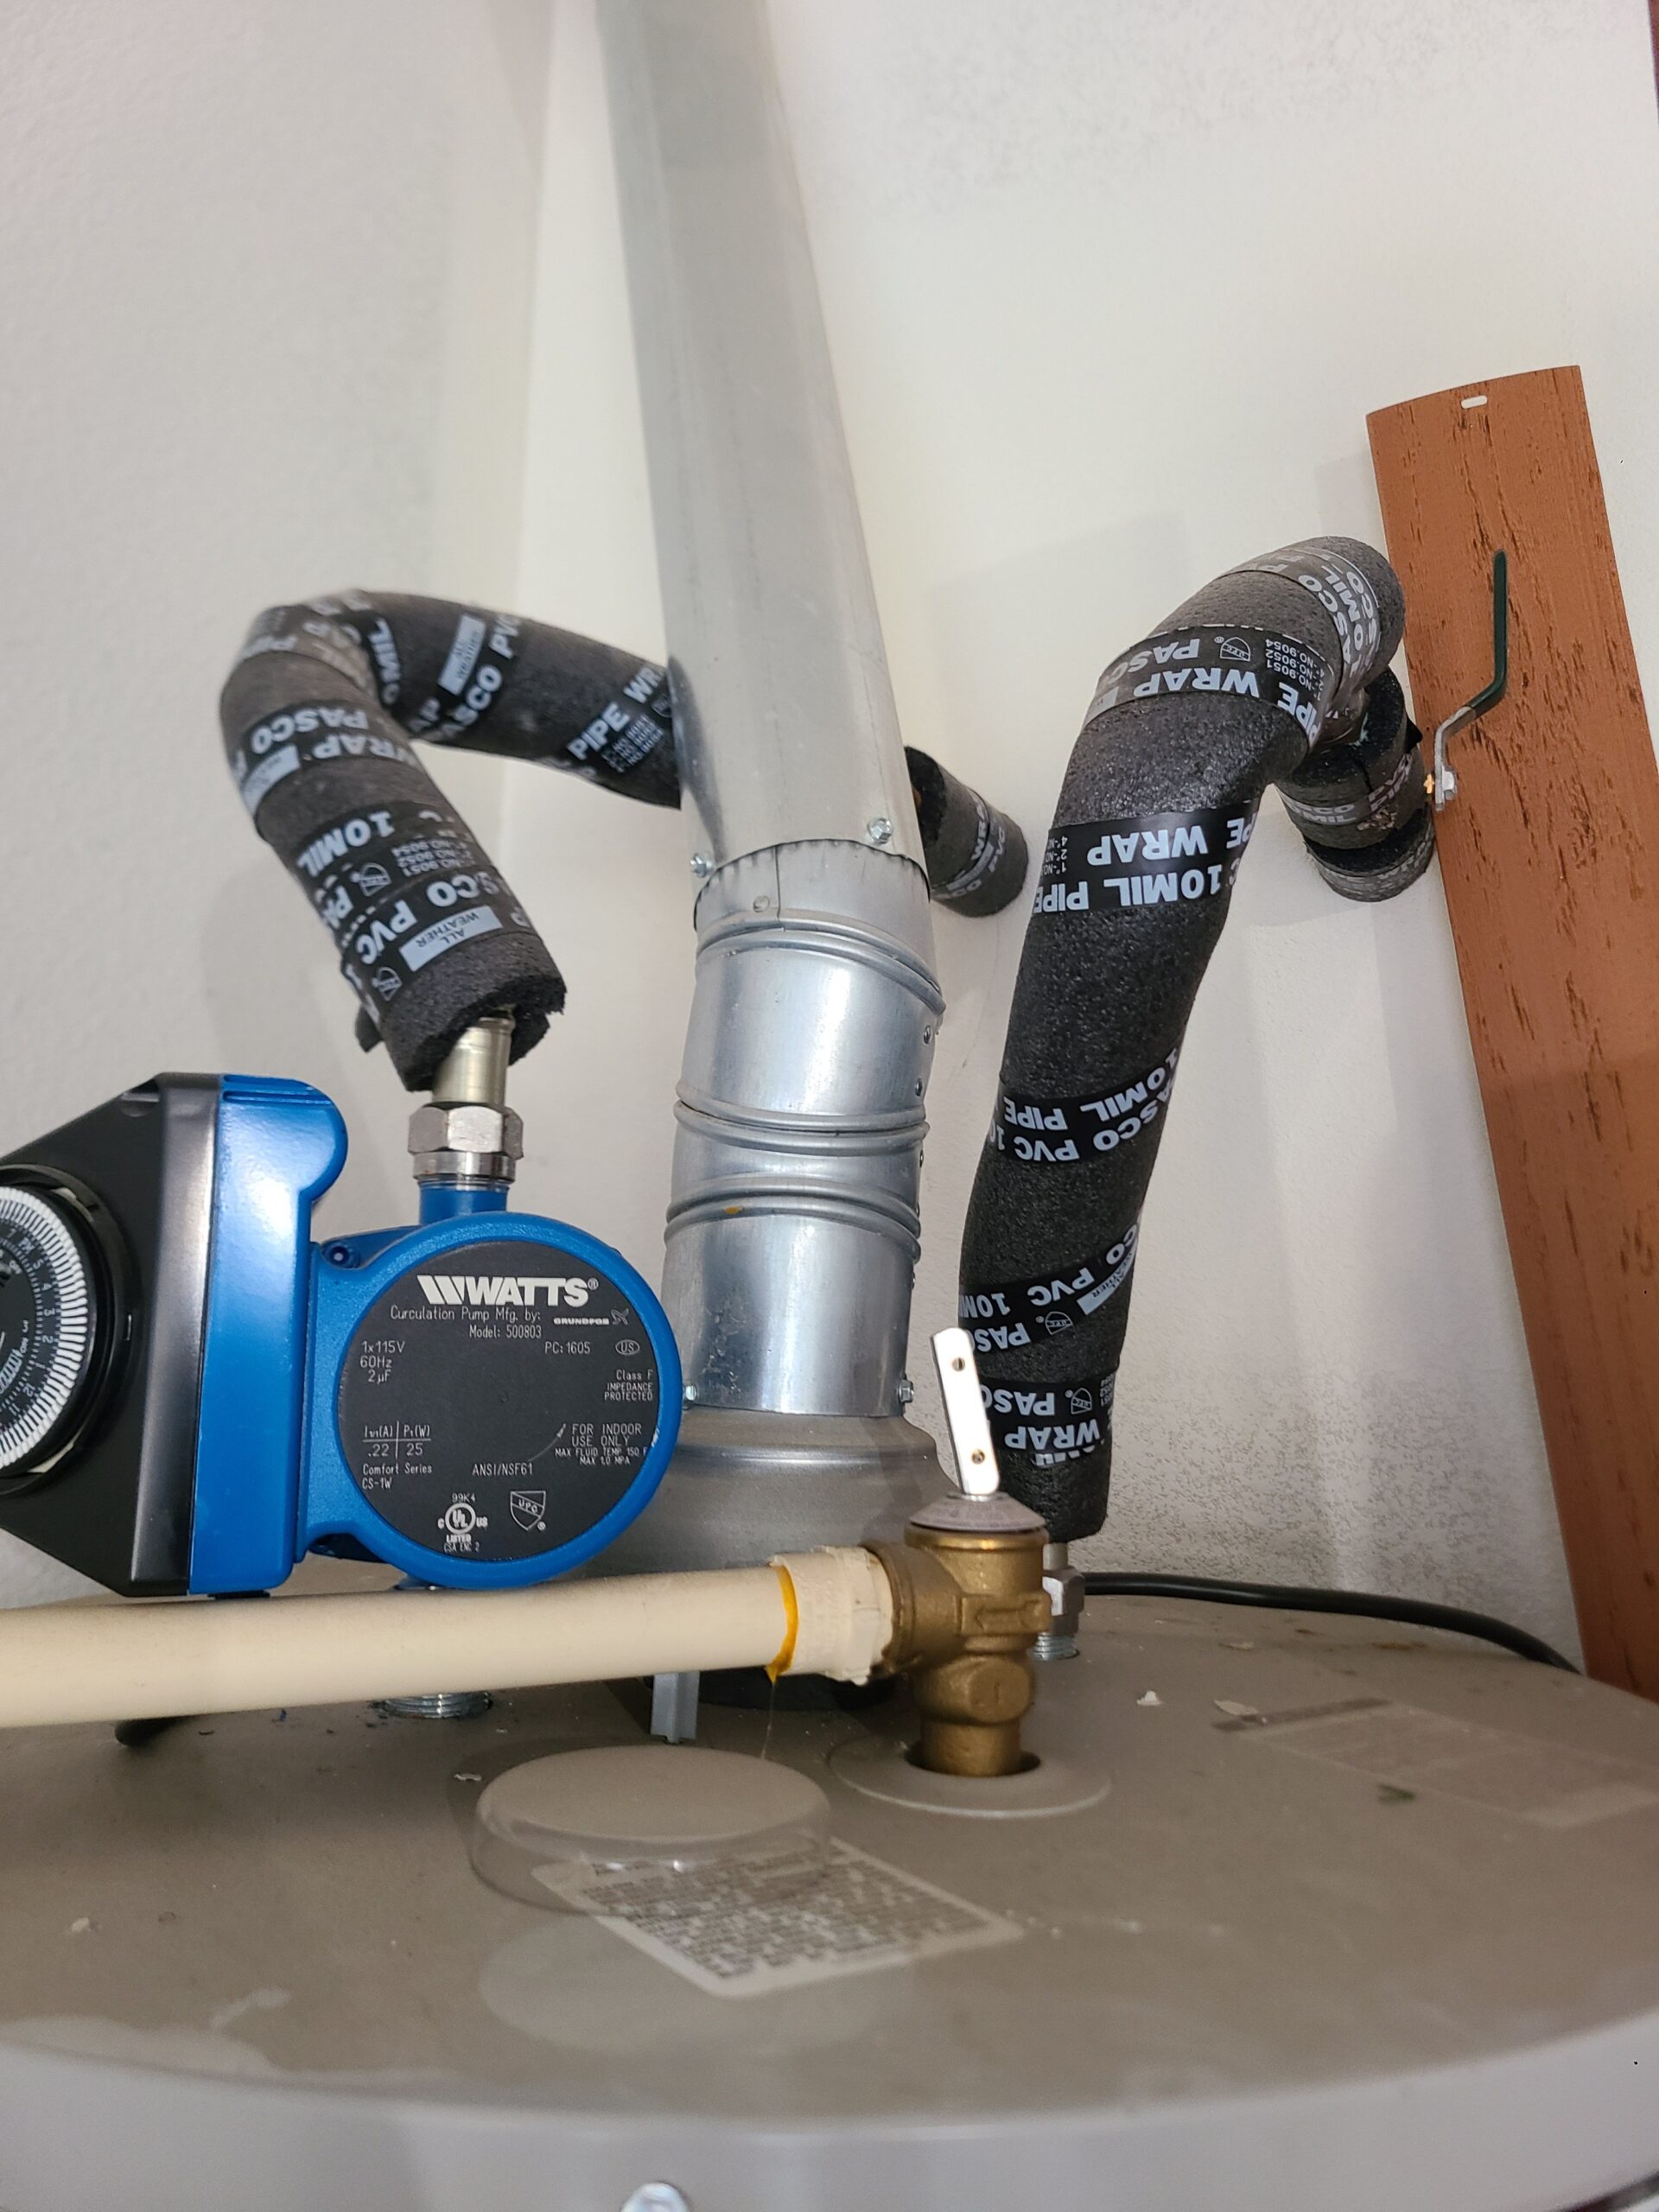
- If water is not draining through the hose at this point, you may need to open your pressure relief valve to allow more air into the tank. In the image below, you can also see the cold water supply valve, closed (to prevent the tank from filling).
Once you’ve performed these steps, water should now be flowing through your drain valve, garden hose, and into the drain or street. Allow the tank to drain completely.
Water Heater Drain and Flush: Power Flush (optional)
This step may be optional, but it helped us get all of the sediment out. To do this, leave the drain valve open and turn the cold water supply back on. As the water hits the bottom of the tank, it will begin draining out through the drain valve and hose.
Since you are leaving the water supply on, the tank will fill faster than it can drain. This will push water faster out of the hose. To make sure no sediment gets caught in the hose, you can manipulate the hose along the way to move the water (and sediment) along.
In our case, this power flush was what caused a large portion of the sediment to come out of the tank. The first manipulation of the hose caused a bunch of sand and debris, as well as some extremely dirty and rust colored water to flow out of the drain end of the hose.
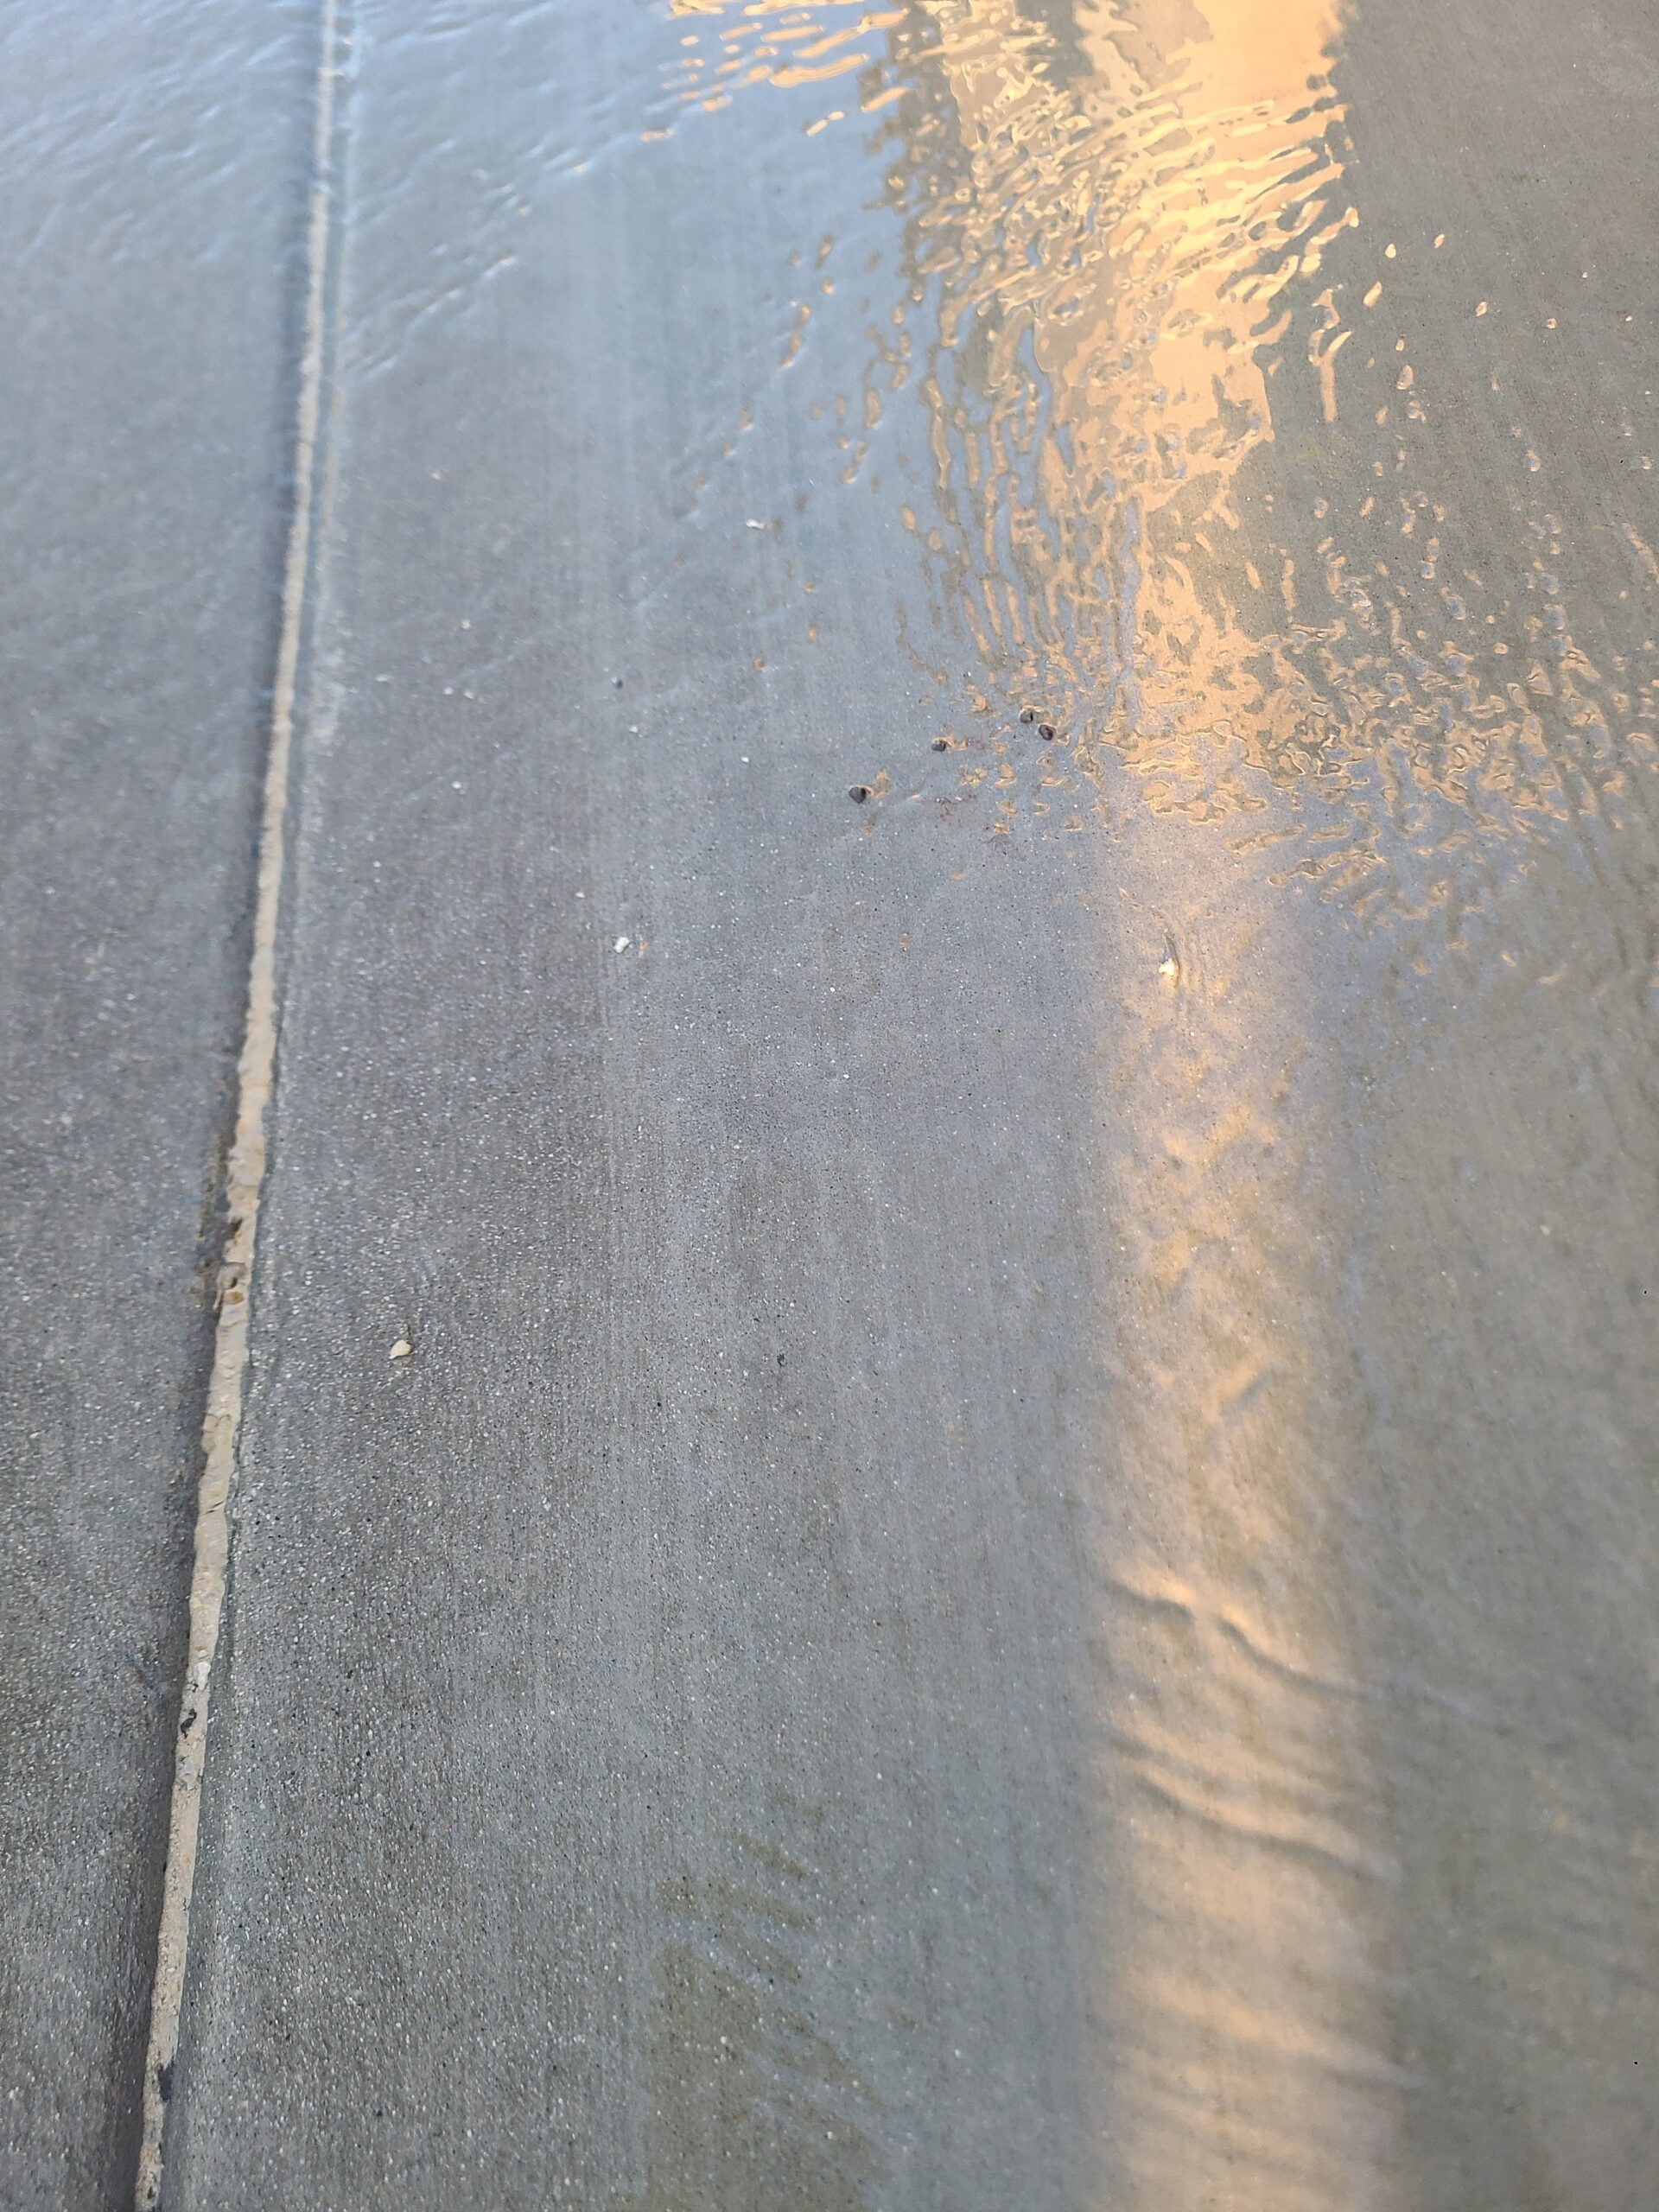
with the small pieces to the right of the gap were flushed out on my first flush.
Water Heater Drain and Flush: Flush
Once the tank has drained completely, you can begin flushing it. This is accomplished by cycling the cold water supply to the tank on and off every so often. When you open the cold water line, you allow water to rush from the top of the tank down to the bottom, mixing up and distributing any existing sediment at the bottom of the tank.
Your goal is to spray enough water to mix up the sediment and then allow that water and sediment to drain through the garden hose. The sweet spot for this, for me, was a two minute cycle: water on for 20 seconds, water off for 1:40. The 20 seconds of water pouring in was enough to mix the sediment up, and the 1:40 allowed enough water to drain for the next 20 second cycle to agitate the bottom of the tank again.
Once the water draining from the hose is clear, your job is done. In our case, this took approximately 10 additional cycles of flushing (20 seconds on, 1 minute 40 seconds off) to get the water perfectly clear.
Refill the Tank
Once you’re done with the flush, you can refill the tank. Remember, you should have left the hot water faucet inside the house open throughout the process – it should still be open at this time.
Close the drain valve, and remove the garden hose. Turn the cold water supply back on. If you opened the pressure relief valve, you’ll need to close it. You can either do this immediately, or wait for the tank to fill part way and then close it (to avoid pushing additional air into your plumbing as the tank fills).
Once the tank fills, you should see water coming out of the faucet you left open inside the house. Initially, it will spurt and sputter until all of the air is purged out of the plumbing.
Turn the Burner Back On
Once the tank is full, you can turn the burner back on. It will take quite some time before you get hot water back at your faucet, as the burner must heat the entire tank of water and then push it back through the plumbing before it ends up at your faucet.
See more of our Home & Tech Project posts and Tech Product/Accessory reviews.
See all Reviews in our Product Review Portal.
Conclusion
You should now have a clean hot water heater tank. In our case, this seems to have eliminated the knocking noises we have been hearing recently, so the procedure was a success.

