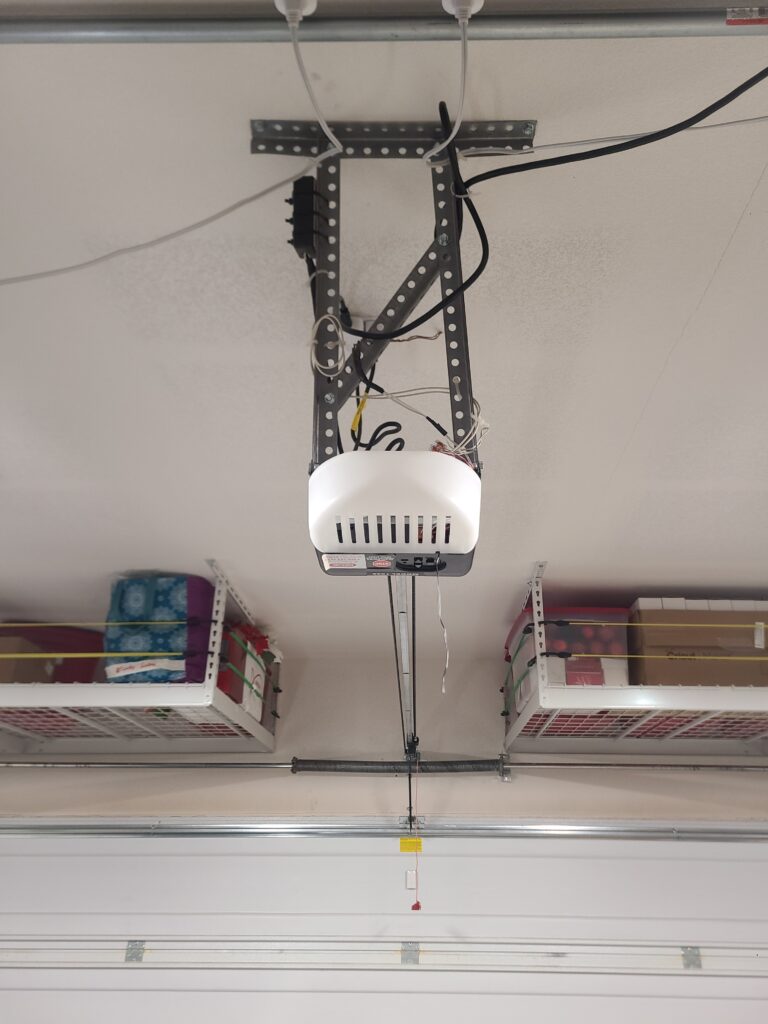
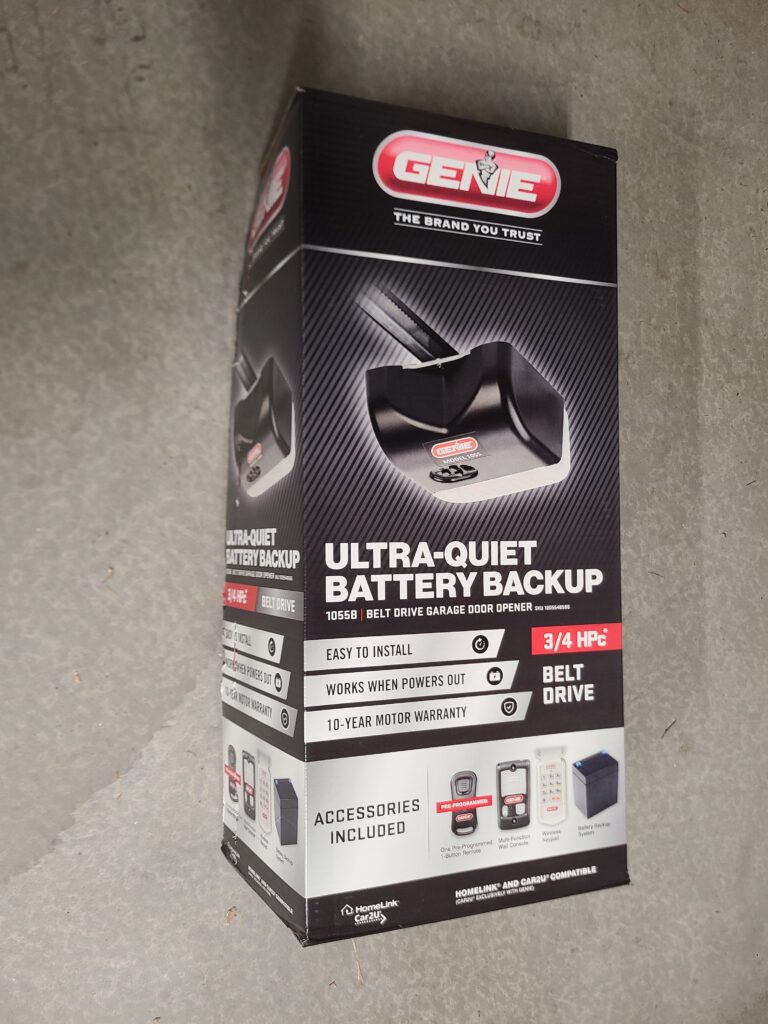
The Genie 1055 garage door opener is a 3/4 HP opener that we purchased from Home Depot. We installed it to replace our old Genie 2024. The installation was surprisingly much easier than I expected.
Background: Our opener died!
On Halloween night, shortly after we arrived home, Lora noticed that our garage door wouldn’t open. I came downstairs, and noticed that the opener (the Genie 2024 installed by our builder) was blinking six times. The manual troubleshooter only goes up to five blinks, so I searched online to get more information. The consensus was that this blink sequence indicates a motherboard failure.
The Fix
I did a quick online search, and found a new motherboard for our Genie 2024. Amazon could have it shipped to us within a week. The cost would be approximately $115 after tax and shipping.
I also decided to see what was available for quick purchase from our local stores. Home Depot had a Black Friday sale coming up on a new Genie 1055 opener. This would cost $98 (roughly $105 after tax), and could be picked up from our local store the next day. I ordered online for in store pickup. Home Depot sent an e-mail the following morning that my order was ready for pickup.
Currently, the Home Depot website won’t allow you to add the Genie 1055 to your cart, for some reason. You may be able to pick this up at your local store, though.
Also, the Genie 1055 has a 10 year warranty on some parts, five years on others, and a year on the most basic parts. The new motherboard, had I gone that route, only had a few month warranty on the replacement board itself. Not to mention, the Genie 1055 comes with a wireless keypad. Our old opener didn’t have one of those. A new opener was a no-brainer purchase.
I watched approximately 100 videos on installing new garage door openers. This seemed like a project we could tackle on our own. I picked up the Genie 1055 from our local Home Depot Thursday morning.
Parts we needed to Replace
These are the parts we had to replace:
- the rail / belt (probably an obvious replacement, as the old opener was chain drive and the new one is belt drive)
- the header bracket (this is the bracket that attaches the rail to the door, which makes sense since we were replacing the rail anyway)
- the door attachment bracket (the bracket that attaches the door to the rail)
- the wall button remote
Parts we could re-use
- the door bracket and pin / clip (this is the bracket that actually attaches the door attachment bracket mentioned above to the actual door opener rail) – quick note here: we did also need to reuse the pin and clip from the original bracket, not the pin and clip that came with the new opener. the new one wasn’t long enough for the bracket that was already on our door. YMMV.
- the header mount straps (we did have to pull these a few inches towards the center of the door, but they are still solid enough that they will keep the opener in place and level)
- the door safety sensors (we will eventually replace these with the new sensors that came with the new door, but our old sensors did work for now)
- the bolts that attach the motor to the header straps
Putting together the Genie 1055
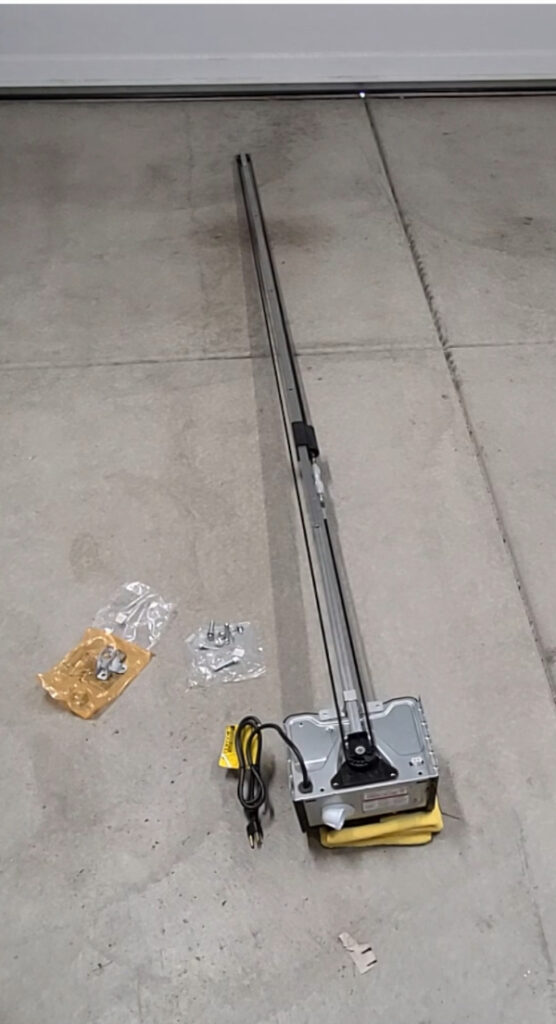
Preparing the Genie 1055 for installation was rather easy. The instructions from Genie are very easy to follow, and are color coded. All we needed to do was put the rail together piece by piece (five sections in total). The rail then attaches to the motor. Quick tip: put some towels underneath the motor to avoid scratching the housing.
Removing the old opener
Once I had the Genie 1055 rail put together and attached to the new motor, we set it aside and went to work removing the old opener. The first step was removing the old door attachment bracket (that attaches the door to the rail). This was easily removed with just a few nuts and bolts, and one pin and clip.
The next step was to remove the pin and clip that attached the existing opener to the header. Once we had that removed, we could see that the existing bracket was sunken into the drywall in the front of the garage. We rested the rail on top of the spring above our garage door.
From there, I moved our ladder over to the existing motor. We loosened / disconnected the two bolts that had tied it into the header straps. Once those bolts were free, Lora and I were able to pull the opener and rail out and down to the floor, and set it aside.
Installing the Genie 1055
Our builder (Richmond American) failed to put a wood header in our home. The rail header bracket was attached directly to our garage drywall. Genie specifically advises against this. It caused our existing opener to vibrate and disintegrate the drywall in front of the actual wood header.
We cleaned out the disintegrated drywall. Our wonderful neighbor had some scrap wood that he was able to use to solidly patch the hole. This allowed us to install the new header bracket in roughly the same spot. He also helped us finish the rest of the install from here
Once the new header bracket was in place, it was easy to insert the rail into the bracket and secure it with a pin and clip. From there, it was just a matter of attaching the motor to the existing straps that would secure it to the header. TIP: position a ladder underneath the brackets that will hang the opener from the ceiling, and rest the opener on it while you are attaching the rail to the header bracket.
The first minor problem we encountered was that the new rail was slightly shorter than the old. The new motor didn’t line up with the headers. Luckily, the offset wasn’t very much at all (just a few inches). We were able to just slightly bend the metal straps to make sure they would allow us to secure the opener to the ceiling (we actually used the original bolts here, as well, as mentioned above).
Wiring the Genie 1055
Wiring the wall button panel on the new opener was a bit of trial and error. Our garage came from the builder pre-wired, but the wires were not labeled or marked. The Genie installation documentation expected the wires to be labeled. I had to try the wires in both positions (positive / negative) before getting it to work.
I also currently installed the existing sensors. However, I do plan to use the new sensors at some point in the near future. The old sensors will work, though. I had the same issue here, I had to flip the polarity to get them to work.
Setting the Up and Down limits on the Genie 1055
Setting the up and down limits is easy, and well explained in the manual. However, one quick “gotcha” here: the down limit is very, VERY important to get right. When I first set this, I assumed that once the door hits the floor, I needed to go down another few clicks. This is absolutely WRONG.
Once the door hits the floor and is fully closed, that is where the limit should be set. If you go too far, the opener is trying to push the door into the floor. This will cause the rail to buckle and the belt to sag. It is better to do this during the day. It allows you to see if the door is fully closed by looking for sunlight around the edges of the door.
Setting the up limit is easy. Just open the door to the point where you want it to stop, per the instructions. Set the limit at that point.
First Impressions
My first impression of this new opener is: WOW, this thing is so much quieter than the original chain drive opener.

Also, the new remote (as well as our Tesla HomeLink remote) have a much greater working distance than the opener we replaced. Also, the HomeLink programming had a few quirks that I’ll detail further in a future edit.
Overall, I’m very happy with this upgrade. We only did this because we absolutely needed a new opener in a pinch, but it ended up being a great upgrade in general.
Disclaimer: These general instructions worked for me and were relatively easy to follow. I am not responsible if you attempt this install and botch something, and end up causing damage to your home, garage, garage door opener, or garage door. Attempt this at your own risk. Please feel free to ask questions in the comments here or consult a garage door expert in your area if you have any concerns or issues.
See more of our Home & Tech Project posts and Home Improvement product reviews.
See all Reviews in our Product Review Portal.


Where did you get the shelves hanging from the ceiling above the garage door?
TIA!
Costco! They do sales on them all the time, usually $100 off, a few times a year at least. I think we paid $250 for both racks. The regular price has gone up a bit with inflation, so I’m guessing the sale price will too…but keep an eye on it!
https://www.costco.com/saferacks-4-ft.-x-8-ft.-overhead-garage-storage-rack-and-accessories-kit.product.100006897.html
We had a local contractor / handyman install them, we found him via SafeRacks installer list. We probably could have installed them ourselves, but for something that is hanging over our cars with tons of additional weight being put on them from stuff we’re storing up there, it was worth it to me to pay someone who is insured and would take responsibility if they ever come crashing down on us.
https://saferacks.com/pages/installation-services
At some point, we will do a review on those, because they’re awesome. We plan to add a few more in the back of the garage.
if your ceiling is not that high as in the article, you can go to homedepot and get the garage door hanging kit for around $26.
https://www.homedepot.com/p/Clopay-Garage-Door-Rear-Track-Hanger-Kit-4125478/100078084?source=shoppingads&locale=en-US&pla&mtc=SHOPPING-CM-CML-GGL-D30-030_029_GDO_PART_ACC-NA-NA-NA-PLALIA-4061075-NA-NA-NA-NBR-NA-NA-NEW-NA&cm_mmc=SHOPPING-CM-CML-GGL-D30-030_029_GDO_PART_ACC-NA-NA-NA-PLALIA-4061075-NA-NA-NA-NBR-NA-NA-NEW-NA-71700000113825500-58700008520361446-92700077676498876&gad_source=1&gclid=CjwKCAiAvJarBhA1EiwAGgZl0O_pOWoBBCz2Njcln9C41lUl0FNXIgLzvWaV1nwGw0FT8oNnZXEjIhoCfykQAvD_BwE&gclsrc=aw.ds
How do you install the chain version of this setup? The instructions say belt or chain driven. However, I can’t find anything in this box that will fit the chain